You can follow along with this article as it walks you through each step of uploading a file to Azure blob storage using Python SDK from Visual Studio Code.
One needs a working Azure membership and a Python code editor to get started with this.
Let’s start by creating an Azure container.
Creating Azure Storage Account And Container
To execute this flow, you may either use an Azure container that already exists or create a new one by following the instructions below:
- Log in to the Azure portal using the link https://portal.azure.com
- Search for ‘storage accounts’ in the top search bar and it will open a new page where you need to click on Create button as shown below:
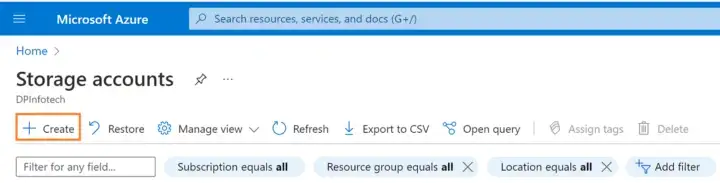
Furnish all the required fields and click on Create. Doing this will create an Azure storage account for you. I’ve created a storage account named testupload01 following the same process.
- Click on a newly created storage account (for me, it is testupload01) and select Containers from the left-side blade as shown below, and follow the steps as defined in sequence:
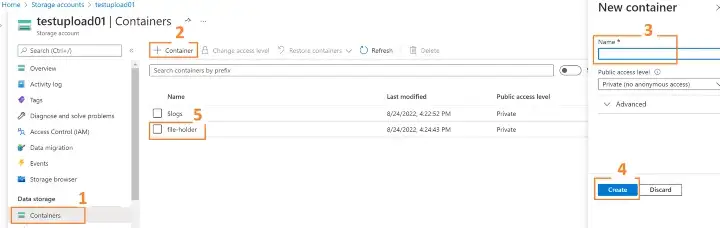
- If everything is configured correctly, you will see that a container is created and listed as shown at point 5. Here my container name is file-folder and this will hold the file, which we will upload in our next step.
Installing Required Python Package
We must install and import the necessary package, just as with any other Python application. The import command is as:
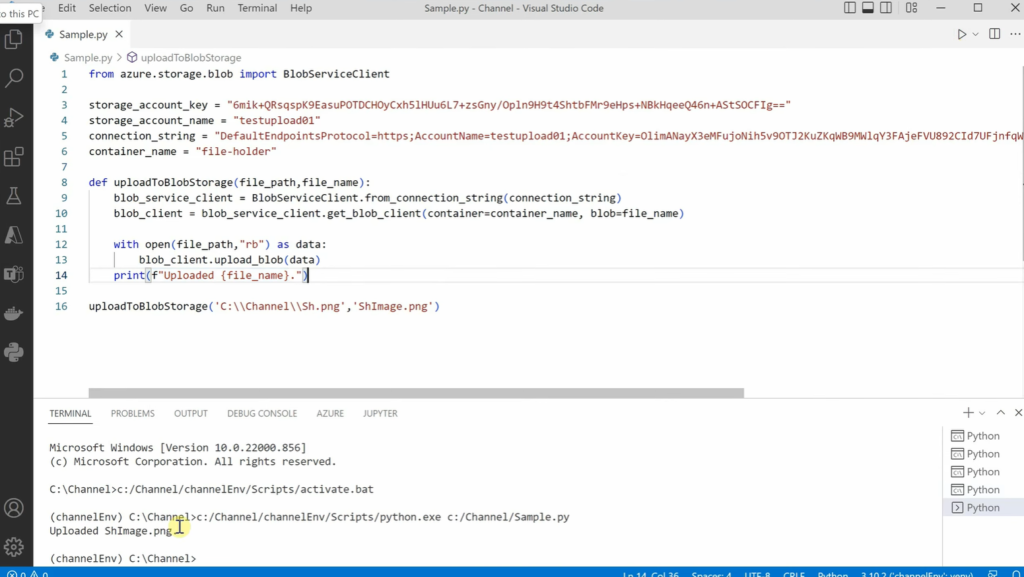
pip install azure-storage-blobPython Code To Upload A File To Azure Blob
from azure.storage.blob import BlobServiceClient
storage_account_key = "GRAB_IT_FROM_AZURE_PORTAL"
storage_account_name = "GRAB_IT_FROM_AZURE_PORTAL"
connection_string = "GRAB_IT_FROM_AZURE_PORTAL"
container_name = "GRAB_IT_FROM_AZURE_PORTAL"
def uploadToBlobStorage(file_path,file_name):
   blob_service_client = BlobServiceClient.from_connection_string(connection_string)
   blob_client = blob_service_client.get_blob_client(container=container_name, blob=file_name)
   with open(file_path,”rb”) as data:
      blob_client.upload_blob(data)
      print(f”Uploaded {file_name}.”)
# calling a function to perform upload
uploadToBlobStorage('PATH_OF_FILE_TO_UPLOAD','FILE_NAME')
Explanation of the above code
- We are importing the BlobServiceClient from azure.storage.blob module.
- Then we need to define 4 key parameters using which our application can communicate to Azure:
- storage_account_key
- storage_account_name
- connection_string
- container_name
- Then we define a function that will perform the file upload, it will take two parameters:
- file_path where our file is stored in the local machine.
- file_name is the file name that we will be using to save the file, this is the file name that we can see in the container when our upload is complete.
- Inside the function, we need a blob service container, we use the connection string of our blob BlobServiceClient.from_connection_string(connection_string)
- Then, we get the client object using the function get_blob_client, which takes two parameters:
- container name
- blob file name that we are going to create
- Then, we need to open the file and read it in binary mode. We are using “with” statement providing the file path and “rb” is for reading it in binary.
- upload_blob is the function that we can use to upload the file using the data that we read.
- Then we are printing a message saying that the upload was successful along with the file name.
- At last, we can call this function and pass the appropriate parameters
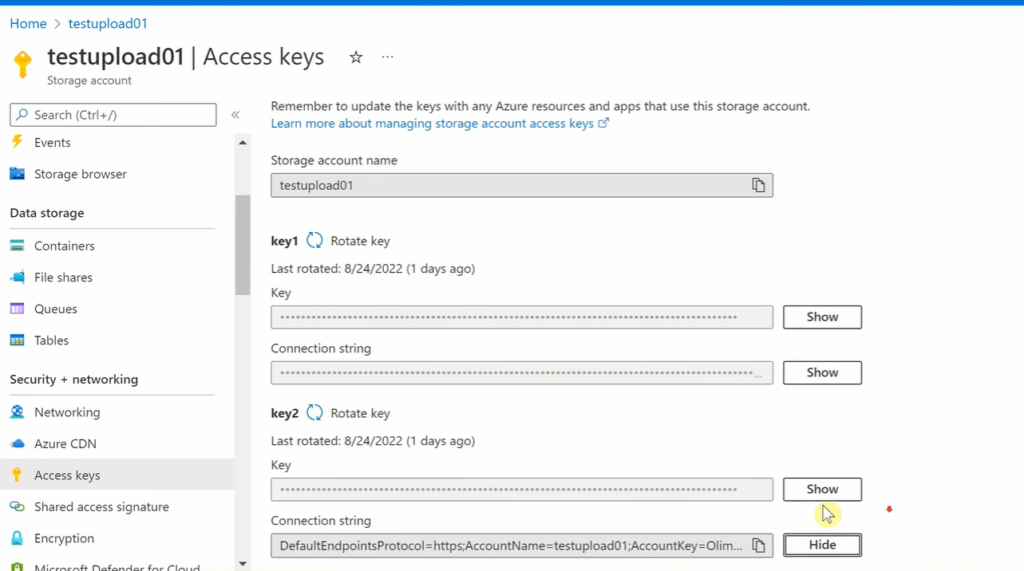
The above 4 key parameters can be fetched from the Azure portal
- To get the storage account key, storage account name, and connection string, navigate to the storage account you created to use, under security + networking, go to Access keys.
- For the container name, go to containers under data storage and get the container name.
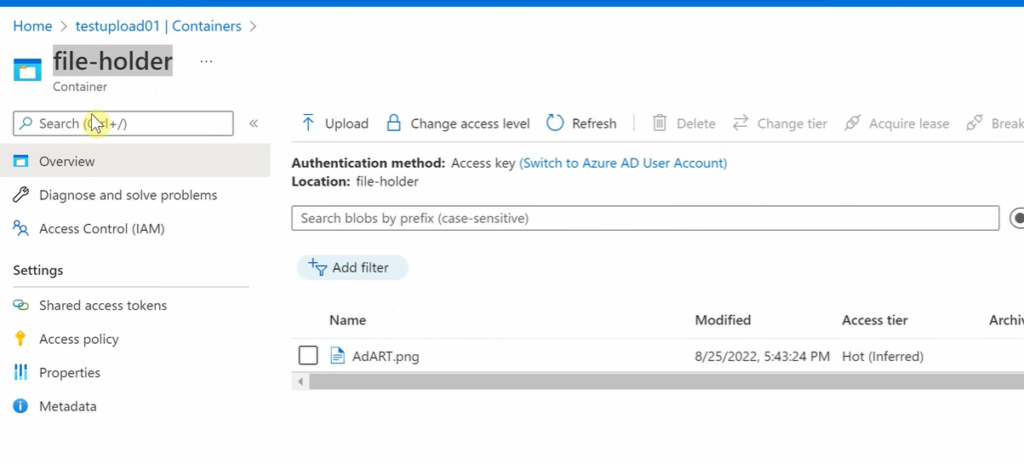
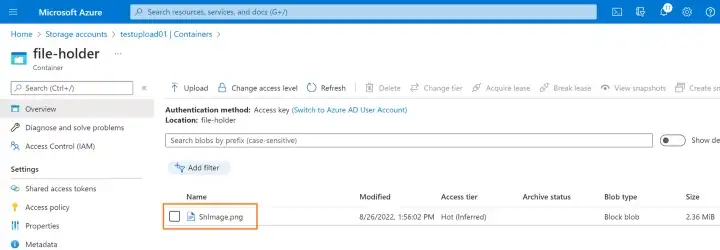
File In Azure Blob
If the above lines of code are properly executed, your just uploaded file will be shown in a container as shown below: